How to create translation-friendly InDesign files

If your company regularly produces and translates marketing materials such as whitepapers, e-books and brochures, the chances are you are using Adobe InDesign to create them. So, when it comes to translating InDesign files into other languages, we thought we’d share our eight top tips on how to make the translation process as smooth and as cost-efficient as possible.
Before you start designing
It all starts with thinking about the translation process before you even start designing your new document.
1) Create a design brief
To help your localisation team get off to a great start and do your carefully crafted document justice, it’s a really good idea to write a design brief that you can send with your InDesign package. A brief should include similar guidelines to those followed when designing your original document such as:
- Details about page setups (e.g. letter size vs. A4 size)
- A list of your brand fonts and sizes and how and where they are used
- Important layout information that designers need to adhere to (e.g. single spread vs. double spread, layout information, margin sizes, image padding, etc.)
- Any specific localisation guidelines (e.g. Should hyperlinks in the InDesign file be changed so they direct to your localised website, if it exists? If so, make sure you include the localised hyperlinks in the brief.)
- Delivery specifications (e.g. resolutions for web-ready PDFs, bleeds and crop marks for print-ready PDFs, file-naming conventions, etc.)
When your document has been translated, a graphic designer (or to give them their more official name, a multilingual DTP specialist) will adjust the translated document until its overall layout and design matches your original document.
Providing them with a brief is helpful because it reduces the number of potential questions you’ll receive as well as the number of review cycles the file must undergo before it’s finalised. Creating a design brief doesn’t take very long, you only need to do it once, and it will save you time and money in the long run.
2) Mind your fonts
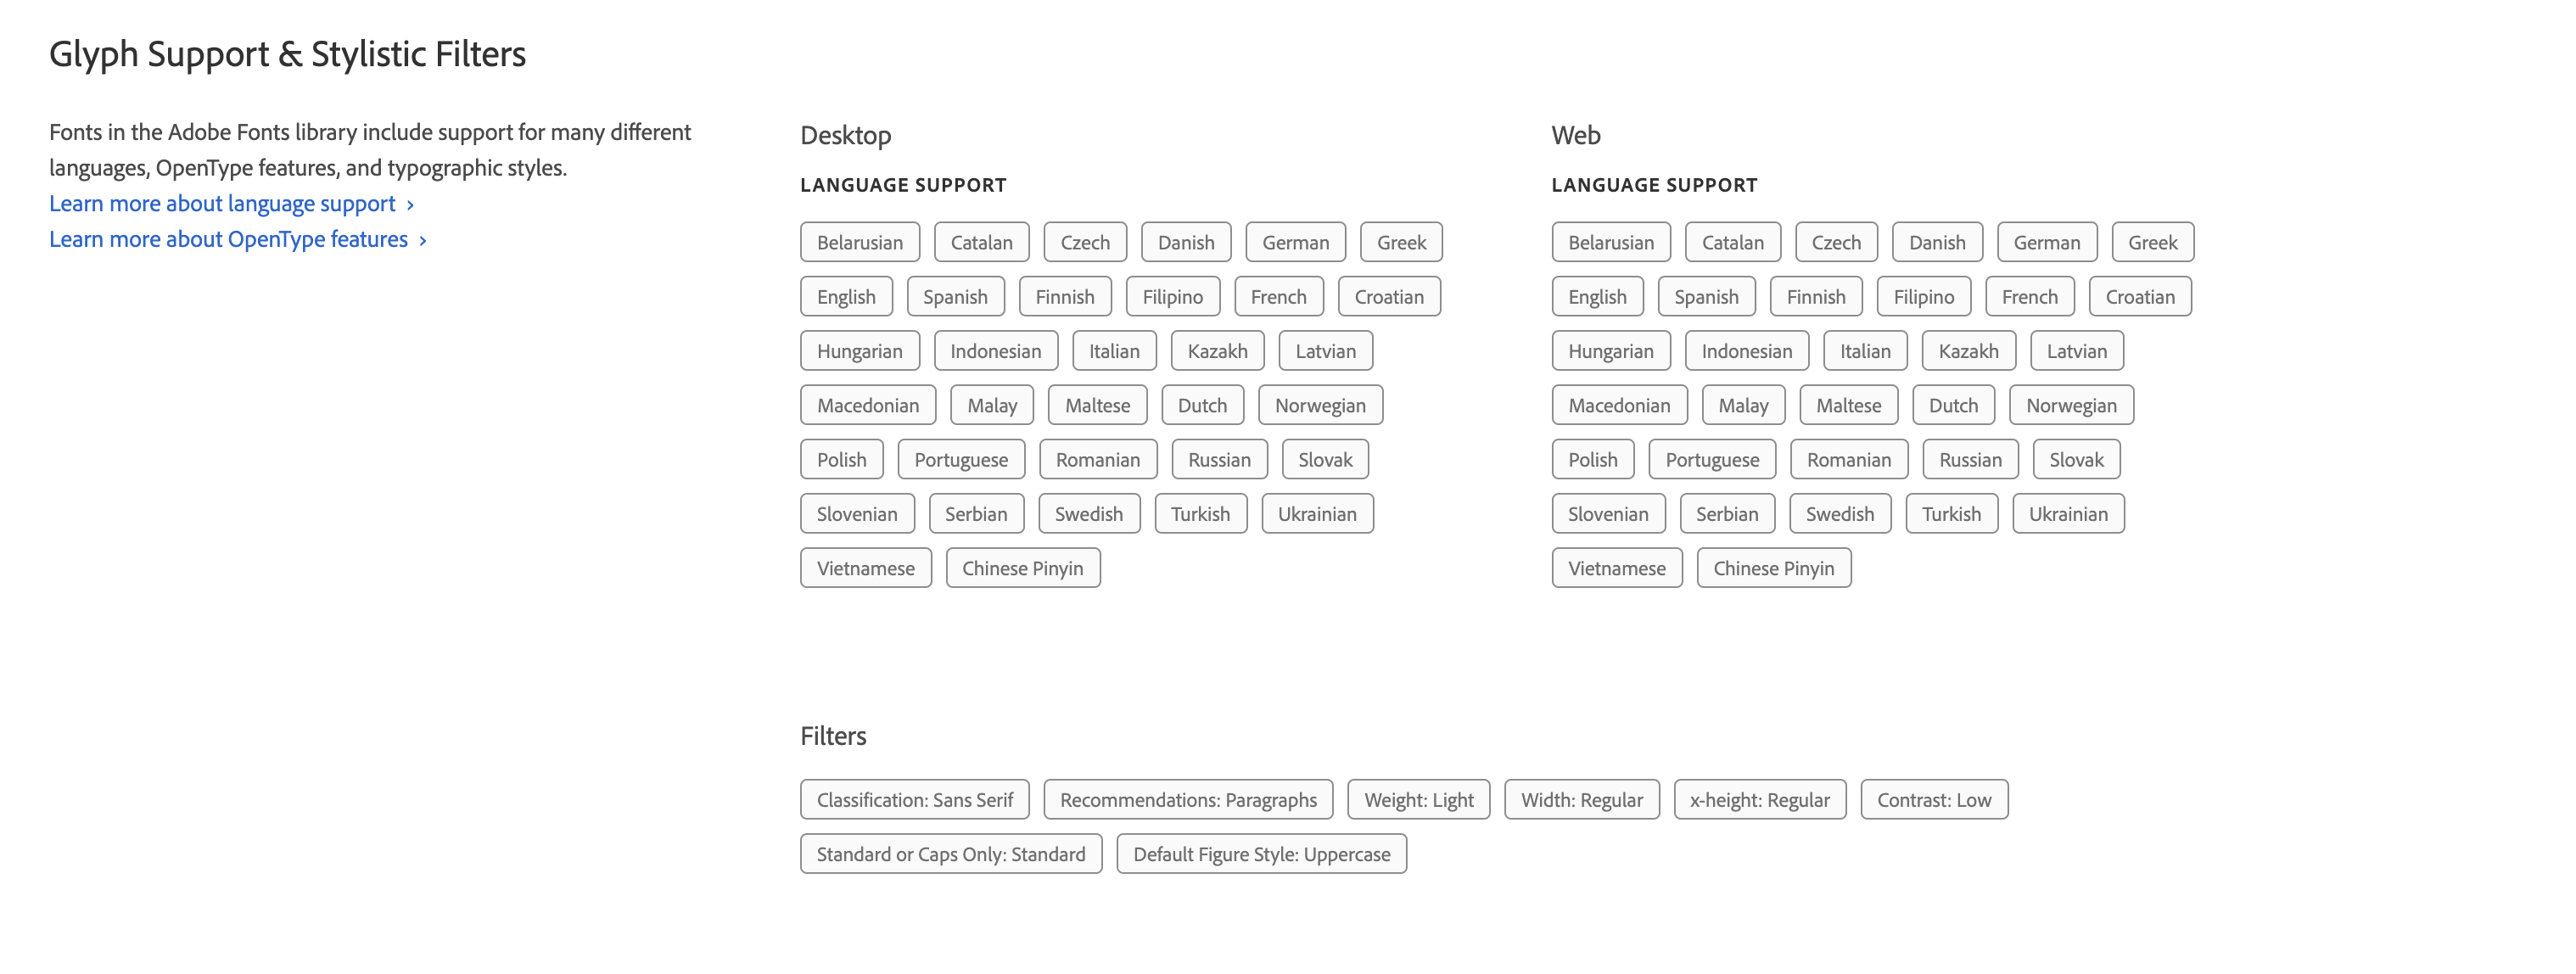
When you choose fonts for your InDesign file, make sure that the font is compatible with the languages you are translating into and that special language characters like accents are supported. You need to choose a font that will work during the localisation process. The quickest way to check what languages a font supports is to look in the Adobe Fonts library. Select your font and scroll to the bottom of the page where you’ll find the information you need. One of our brand fonts is Lato and here’s how it looks in the Adobe Fonts library:
During the design process
Designing translation-friendly InDesign files is easy once you know what to look out for.
3) Keep the layout simple
This is a short but important point. The more complex you make the layout of your document, the higher the chances are that it could cause issues when the file is populated with text in another language. The multilingual DTP specialist will likely have to shuffle things around to make the translation fit into your layout, so it helps to work with InDesign files that are created in line with best practices and that are easy to modify.
4) White space is your friend
One of the most helpful things you can do as a designer when creating translation-friendly InDesign files is to incorporate plenty of white space into your design. Did you know for instance that a German translation tends to be 25-30% longer than the English original? As a graphic designer, you want to allow for that text expansion in your design, so that another language doesn’t affect your layout. The less white space there is in your design, the more creative the multilingual DTP specialist will have to be to make the translation fit on the page. They may have to reduce the font size or weight, make images smaller or even add additional pages. And that’s not ideal, because the ultimate goal is to keep the look and feel of the original document.
5) Choose images wisely
When you’re designing documents that you know will be translated, it’s a good idea to think about the imagery you use. In particular if images show people, landscapes or cultural references that may be irrelevant or distracting to readers in another language. You might not always have a say in what images are used, but if sourcing images falls under your design scope, be mindful of cultural differences. Wherever you can, choose neutral images that work globally to simplify the localisation process.
6) Images with text
Wherever possible, avoid embedding text into images.
Let’s imagine you have created an image in Adobe Illustrator, overlaid it with some text, and then exported it as a PNG file which you insert into your InDesign file. We’d refer to this as an image with embedded text. Localisation teams use specialist translation software that pulls all the readable text out of the InDesign file and into an interface where translators can see the English text and the translation side by side. The translation tool only reads editable text; it is not able to recognise text embedded in an image. This means that a member of the team must manually type out the text from the image into Microsoft Word and manually upload this document to the translation tool as a separate job. And when this translation is completed, the multilingual DTP specialist must recreate the image with the translated text. It’s a long-winded and laborious process.
A much smarter way of working would be to overlay the text on the image in InDesign by creating a new text layer on top of the image. That way, the translation tool will recognise the text and the translator can work on the whole document in one go, with the image text in situ.
If, for design reasons, you have no choice but to use an Adobe Illustrator image with embedded text, it will help the multilingual DTP specialist if you add the original Adobe Illustrator file to the Links folder so that they can recreate the image for the translated file.
Preparing your InDesign file for translation
7) Tidy up your file
When you finalise your file, tidy it up and make sure you remove any elements sitting off the pages that are no longer required. Only on-page elements should remain in the file. If you send files to translation with off-page elements, these will also be pulled into the translation tool, so you end up paying for translations of text that you are not even using.
8) Prepare your file package
When you prepare the final file package, check that it contains all the elements that the localisation team will need:
- INDD file
- IDML file
- PDF version of file
- All fonts used in the document. These should be in the Fonts folder.
- All images used in the document. These should be in the Links folder (remember to add Adobe Illustrator files for any images with embedded text).
Why should you add an IDML file and a PDF?
Translation tools can’t read INDD files but they can read IDML files. ML stands for markup language, and this format allows translation tools to import the readable text only of an InDesign file for translation. This, however, means that translators working on the InDesign file within the translation tool are presented with text and no images. That’s why it’s helpful to include the PDF version of the document in your file package so translators can refer to it and see the text they are working on in context.
Compared to INDD files, IDML files are also backward compatible which is helpful if your localisation partner is working on an older version of InDesign.
Creating translation-friendly InDesign files is easy once you know what to look out for. With a few simple steps, you can champion best practices for files that require translation, improve your localisation process, and save your company time and money.